- Nederlands, Belgique / België
- Česky, Česká republika
- Deutsch, Deutschland
- Español, España
- Português, Portugal
- English, Europe
- Français, France
- Italiano, Italia
- Magyar, Magyarország
- Nederlands, Nederland
- Deutsch, Österreich
- Polski, Polska
- Română, România
- Français / Deutsch, Suisse / Schweiz
- Svenska, Sverige
- Suomeksi, Suomi
- Türkçe, Türkiye
- English, United Kingdom
- Slovenská, Slovak
-
Worldwide


 Welkom bij Mitutoyo Nederland, België en Danmark
- Alle Product Highlights
- Nieuwe SJ-220
- Nieuwe QuantuMike
- LEGEX Takumi
- Measurlink 10
- HR-600 Series
- TAGLENS
- MCOSMOS 5
- Crysta Apex V
- Formtracer Avant
- MiSTAR 555
- Schuifmaten
- Bluetooth Data Communicatie
- Profielprojector PJ Plus
- QuickVision Pro
- Alle Producten per Industrie
- MeasurLink 10
- MeasurLink 10
- Medical
- Automotive
- Aerospace
- Energy
- Gen. Manufacturing
- Electronics
- Case Studies
- Alle Handmeetgereedschappen
- Schuifmaten
- Schroefmaten
- Binnenmeetinstrumenten
- Diepte meetinstrumenten
- Hoogtemeters
- Meetklokken en Snelopnemers
- Hulpstukken en diversen
- Kalibratie instrumenten
- Eindmaten
- Alle CMM
- Kleine en middelgrote CMM's
- CMMs met grote afmetingen
- In-Line en werkvloer CMMs
- CMM Tastsystemen
- Styli en accessoires
- Opspansystemen
- KMG behuizing
- CMM Software
- Alle Vision
- 2D Vision Meetsystemen Quick Image
- Manueel 3D Vision Meetsystemen Quick Scope
- 3D CNC Vision Meetsystemen Quick Vision
- 3D CNC Multisensor Meetsystemen Quick Vision
- Serie 365 - CNC Visionmeetsysteem
- 3D CNC Meetsystemen voor Micro Geometrieën
- Vision System Software
- Objectieven en kalibratiekaarten
- Alle Optisch
- Loepen
- Profiel Projectoren
- Meetmicroscopen
- Microscoop Units
- Oculairs en Objectieven
- TAGLENS
- Illumination Units
- Alle Hardheid
- Portable Hardness Testers
- Combination Testers
- Vickers Testers
- Automatic Vickers Testers
- Micro-Vickers Testers
- Hardness Testing Software
- Reference materials and indenters
- Alle Sensoren
- Meettasters
- Lage meetkracht meetinstrument
- Tellers en uitleeseenheden
- Laser Scan Micrometers
- Surface Measure
- Sensor Management Software
- Schuifmaten
- Digitale schuifmaten
- Schuifmaten voor speciale doeleinden
- Analoge schuifmaten
- Schuifmaat accessoires
- Schroefmaten
- Digimatic schroefmaten & Analoge schroefmaten
- Accessoires voor schroefmaten
- Inbouwschroefmaten
- Accessoires voor inbouwschroefmaten
- Binnenmeetinstrumenten
- Binnenmeetinstrumenten
- Binnenmeettasters
- Accessoires voor binnenmeetinstrumenten
- Meetklokken en Snelopnemers
- Digitale meetklok
- Accessoires voor meetklokken
- Zwenktaster
- Meetklok
- Accessoires voor meetklokken
- Diktemeter, dieptemeter
- Hulpstukken en diversen
- Statieven
- Precisie spanklemmen
- Vlakplaten en sinusplaten
- Hoekmetingen en raamwaterpassen
- Voelermaten en linialen
- Eindmaten
- Stalen eindmatensets
- Stalen losse eindmaten
- CERA eindmatensets
- CERA keramische losse eindmaten
- Speciale eindmaten
- Accessoires voor eindmaten
- Kleine en middelgrote CMM's
- CRYSTA-Apex V - 500, 700, & 900 Series
- CRYSTA-Apex V - 1200 Series
- CRYSTA-Apex V - 1600 & 2000 Series
- CRYSTA-Apex EX Series for REVO
- STRATO-Apex - 500, 700, & 900 Series
- STRATO-Apex - 1600 Series
- LEGEX Series
- Styli en accessoires
- Styli Kits
- Rechte tasters
- Diamant Tasters
- IJkkogel Keramiek Ø10,0 mm
- Tasters voor bewerkingsmachines
- Ster Tasters
- Tasters voor Ster Tasters
- Cilinder Tasters
- Schijf Tasters
- Tip Tasters
- Verlengstukken
- Houders
- Adapters
- Verbindingstukken
- Bevestiging voor taster onderdelen
- Gereedschappen voor Tasters
- StyliCleaner
- Opspansystemen
- Fixturing Kits
- Base Plates
- Build-up Components
- Positioning & Stopper Components
- Profile Components
- Base Components
- Clamping Components
- Adapters
- Slider Components
- Racks
- 3D CNC Vision Meetsystemen Quick Vision
- Quick Vision ACTIVE
- Quick Vision APEX / HYPER
- Quick Vision ACCEL
- Quick Vision ULTRA
- Profiel Projectoren
- Profiel Projector PJ Serie
- Profiel Projector PV Serie
- Profiel Projector PH Serie
- Data Processor QM-Data
- Accessories
- Meetmicroscopen
- TM Series Gen. B
- MF Series Gen. D
- MF-U Series Gen. D
- Illumination Sources
- Vision Unit
- M2 Software
- QSPAK-VUE Software
- Oculairs en Objectieven
- ML-Series Objectives
- Brightfield Observation Objectives
- Brightfield/Darkfield Observation Objectives
- NIR Objectives
- NIR LCD Objectives
- NUV Objectives
- NUV LCD Objectives
- UV Objectives
- UV LCD Objectives
- Oppervlakte ruwheid
- Surftest SJ-210
- Surftest SJ-310
- Surftest SJ-410
- Surftest SJ-500
- Surftest SV-2100
- Surftest SJ-500P
- Surftest SV-2100P
- Formtracer Avant FTA-S3000
- Surftest Extreme SV-3000CNC
- Surftest Extreme SV-M3000CNC
- Oppervlakte ruwheid & Contour
- Formtracer Avant FTA-D3000 / FTA-D4000 Series
- Formtracer CS-3300
- Formtracer Extreme SV-C4500CNC
- Formtracer Extreme SV-C4500CNC HYBRID Type 1
- Formtracer Extreme CS-5000CNC and CS-H5000CNC
- Portable Hardness Testers
- Impact Type Hardness Testing Unit HARDMATIC HH-411
- Digital and Analogue Durometers HARDMATIC HH-300
- Combination Testers
- Rockwell HR-200/300/400
- Rockwell, Rockwell Superficial, Brinell Hardness Tester HR-530 and HR-600
- Rockwell Automatic Hardness Testing HR-600
- Automatic Vickers Testers
- Automatic Micro-Vickers hardness testing systems
- Automatic Vickers hardness testing systems
- Reference materials and indenters
- Hardness reference materials
- Hardness indenters and replacement balls
- Meettasters
- ABSOLUTE Digimatic Linear Gauge LGS Series
- Air Drive Unit
- ABSOLUTE Digimatic Linear Gauge LGD Series
- Standard Linear Gauge LGF Series
- Linear Gauge LG100 Series
- Linear Gauge LG200 Series
- Slim Head Linear Gauge LGK Series
- Slim Head Linear Gauge LGB Series
- Large Measuring Range Linear Gauge LG
- Laser Hologauge
- Lage meetkracht meetinstrument
- LITEMATIC VL-50 Gemotoriseerde lage meetkracht, zeer hoog nauwkeurig meetinstrument
- Tellers en uitleeseenheden
- EJ Counter and Interfaces for Linear Gauges
- EC Counter for Linear Gauges
- EG Counter for Linear Gauges
- EB Counter for Linear Gauges
- EH Counter for Linear Gauges
- EV Counter for Linear Gauges
- Display Unit for EV Counter
- Laser Scan Micrometers
- Laser Scan Micrometer Measuring Unit
- Laser Scan Micrometer Controller Unit
- Laser Scan Micrometer Interface Unit
- Laser Scan Micrometer Optional Accessories
- DRO Linear Scales en Tellers
- DRO Linear Scales AT103
- DRO Linear Scales AT103 - High Accuracy
- DRO Linear Scales AT113
- DRO Linear Scales AT113 - High Accuracy
- DRO Linear Scales AT116
- DRO ABS Linear Scales AT715
- Universal DRO KA-200 Counter
- NC Linear Scales
- NC Linear Scales ST36
- NC Linear Scales ST46-EZA
- NC Linear Scales ABS ST700
- NC Linear Scales ABS ST1300
- NC Linear Scales AT211
- NC Linear Scales ABS AT1100
- NC Linear Scales ABS AT1300
- NC Linear Scales AT402E
- NC Linear Scales AT203
- NC Linear Scales AT402E with cable A/B
- NC Linear Scales AT402E with cable C
- Opbouwlinialen
- Horizontal ABSOLUTE Scale Coolant Proof IP66
- Horizontal ABSOLUTE Scale Standard
- Horizontal ABSOLUTE Scale Measurement Direction Switching
- Horizontal ABSOLUTE Scale Diameter Function
- Vertical ABSOLUTE Scale Standard
- Vertical ABSOLUTE Scale Measurement Direction Switching
- Vertical ABSOLUTE Scale Diameter Function
- Signaal kabels
- USB Input Tool Direct Kabel
- Digimatic Data Kabels
- Verlengkabels voor Digimatic Kabels
- Draadloze communicatie
- Wireless Communication System U-WAVE
- U-WAVE Bluetooth
- U-WAVE-T Connection Cables and Connection Units
- Interfaces
- USB Input Tool
- DMT-3T / FS2 USB
- DMX-1 USB
- DMX-2 S
- DMX-2 USB
- DMX-3 USB
- MUX-10F
- DMX-8/2
- DMX-16 / DMX-16C
- DMX-0-1 USB / DMX-3-2 USB
- Digimatic Interface MIG
 Original Equipment Manufacturers (OEM)
Mitutoyo OEM can address missing expertise or resources by supplying you with our renowned Metrology equipment that seamlessly integrates into your products.
 Aerospace
Complex aerospace applications need fast, extremely precise quality control to ensure accurate assemblies. See how Mitutoyo makes it happen.
 Automotive
The automotive industry continues to innovate, and Mitutoyo delivers the advanced inspection and scanning capabilities to help manufacturers achieve ongoing production
 Energy
Make critical equipment components for oil and gas, solar, wind, or nuclear as precise as possible with advanced metrology solutions from Mitutoyo.
 Medical
Boast unmatched accuracy and reliability for diagnostic and therapeutic devices, pharmaceutical goods, and countless other highly sensitive medical engineering applications with leading precision metrology solutions.
 Gen. Manufacturing
Ensure high repeatability and rigorous quality control with form measurement solutions, coordinate measuring machines and precision measuring tools from Mitutoyo.
 Electronics
The non-contact and vision measurement solutions from Mitutoyo bring microscopic accuracy to smaller and denser electronic components.
 Case Studies
For an overview of Mitutoyo's capabilities, this is no greater place to look than our marvelous collection of case studies.
 Helpdesk Support
Gratis Helpdesk support voor klanten met service contracten
 Kalibratie Services
Laat je meetapparatuur kalibreren door een laboratorium dat je vertrouwt
 Meetservices
Laat uw werkstukken en onderdelen opmeten door onze Aukom gecertificeerde specialisten
 Reparaties & Reserve onderdelen
Reserveonderdelen en reparaties voor Mitutoyo-apparaten
 Service contracten
Klantgericht servicecontractconcept in onderhoud en kalibratie
 Mitutoyo Integrators
Integrating your measuring devices into existing processes made easy
 Product Demo's
Online of offline, vraag vandaag nog een productdemonstratie aan
 Integratie van productieautomatisering
Maak van uw fabriek een slimme fabriek met de hulp van Mitutoyo
 Oplossingen op maat
Op maat gemaakte producten voor unieke toepassingen
 Education Pack
Er is geen betere hulp dan posters of lesmateriaal van Mitutoyo, perfect voor de werkplaats of het klaslokaal.
 E-Learning
Voor degenen die geïnteresseerd zijn in metrologie biedt Mitutoyo E-Learning-cursussen om studenten, personeel of zelfs hobbyisten op te leiden.
 Online Material
Als je op zoek bent naar een snelle manier om meer te leren over meten, bekijk dan onze vele instructievideo's
 Ontdek Mitutoyo
Het grootste metrologiebedrijf ter wereld
 Merchandise
Voor degenen die in stijl over de winkelvloer willen lopen, ga naar de shop en steun je favoriete merk.
 Onze promoties
Bekijk hier of we een aantrekkelijke promotie voor je hebben.
 Alle nieuwsberichten
Lees hier meer nieuws over Mitutoyo Nederland, België en Denemarken. Deze pagina wordt regelmatig vernieuwd.
 Product informatie
Bekijk en download onze catalogus, productbrochures en meer
 Software
Download onze software en updates gemakkelijk en snel
 Verklaringen van conformiteit
Hier kun je de volledige versies voor de EU en het VK downloaden
 Gratis wallpapers
Download hier gratis de officiële wallpapers van Mitutoyo
 Mitutoyo Merk Communicatie Materialen
Hulpmiddelen voor Mitutoyo-medewerkers en externe leveranciers
 Online Catalogus
Bekijk ons uitgebreide assortiment in onze online catalogus!
-
Producten
- Terug Producten
- Producten
- Product Highlights
-
Producten per Industrie
- Terug Producten per Industrie Alle Producten per Industrie
- MeasurLink 10
- MeasurLink 10
- Medical
- Automotive
- Aerospace
- Energy
- Gen. Manufacturing
- Electronics
- Case Studies
-
Handmeetgereedschappen
- Terug Handmeetgereedschappen Alle Handmeetgereedschappen
- Schuifmaten
- Schroefmaten
-
Binnenmeetinstrumenten
- Terug Binnenmeetinstrumenten Binnenmeetinstrumenten
- Binnenmeetinstrumenten
- Binnenmeettasters
- Accessoires voor binnenmeetinstrumenten
-
Diepte meetinstrumenten
- Terug Diepte meetinstrumenten Diepte meetinstrumenten
- Diepte schroefmaat
- Diepteschuitmaat
- Diepteschuifmaat accessoires
- Hoogtemeters
- Meetklokken en Snelopnemers
- Hulpstukken en diversen
-
Kalibratie instrumenten
- Terug Kalibratie instrumenten Kalibratie instrumenten
- Hoogteschroefmaat Height Master
- Stappeneindmaat
- Kalibratie apparatuur
- Eindmaten
-
CMM
- Terug CMM Alle CMM
- Kleine en middelgrote CMM's
-
CMMs met grote afmetingen
- Terug CMMs met grote afmetingen CMMs met grote afmetingen
- CARB-Series
-
In-Line en werkvloer CMMs
- Terug In-Line en werkvloer CMMs In-Line en werkvloer CMMs
- MACH Ko-ga-me
- MACH 3A 653
- MACH V 9106
- MiSTAR 555
-
CMM Tastsystemen
- Terug CMM Tastsystemen CMM Tastsystemen
- SurfaceMeasure
- REVO
- SP80
- TP7M
- PH20
-
Styli en accessoires
- Terug Styli en accessoires Styli en accessoires
- Styli Kits
- Rechte tasters
- Diamant Tasters
- IJkkogel Keramiek Ø10,0 mm
- Tasters voor bewerkingsmachines
- Ster Tasters
- Tasters voor Ster Tasters
- Cilinder Tasters
- Schijf Tasters
- Tip Tasters
- Verlengstukken
- Houders
- Adapters
- Verbindingstukken
- Bevestiging voor taster onderdelen
- Gereedschappen voor Tasters
- StyliCleaner
- Opspansystemen
-
KMG behuizing
- Terug KMG behuizing KMG behuizing
- CMM Behuizingen
-
CMM Software
- Terug CMM Software CMM Software
- MiCAT Planner
- MCOSMOS
- MAFIS Express
- MSURF
-
Vision
- Terug Vision Alle Vision
-
2D Vision Meetsystemen Quick Image
- Terug 2D Vision Meetsystemen Quick Image 2D Vision Meetsystemen Quick Image
- Quick Image
- Quick Image Software
-
Manueel 3D Vision Meetsystemen Quick Scope
- Terug Manueel 3D Vision Meetsystemen Quick Scope Manueel 3D Vision Meetsystemen Quick Scope
- Manual Quick Scope
- Quick Scope Software
-
3D CNC Vision Meetsystemen Quick Vision
- Terug 3D CNC Vision Meetsystemen Quick Vision 3D CNC Vision Meetsystemen Quick Vision
- Quick Vision ACTIVE
- Quick Vision APEX / HYPER
- Quick Vision ACCEL
- Quick Vision ULTRA
-
3D CNC Multisensor Meetsystemen Quick Vision
- Terug 3D CNC Multisensor Meetsystemen Quick Vision 3D CNC Multisensor Meetsystemen Quick Vision
- Quick Vision Hybrid
- Quick Vision WLI
-
Serie 365 - CNC Visionmeetsysteem
- Terug Serie 365 - CNC Visionmeetsysteem Serie 365 - CNC Visionmeetsysteem
- MiSCAN APEX 404
- MiSCAN HYPER 302
- MiSCAN HYPER 404
-
3D CNC Meetsystemen voor Micro Geometrieën
- Terug 3D CNC Meetsystemen voor Micro Geometrieën 3D CNC Meetsystemen voor Micro Geometrieën
- UMAP Vision Systems
- UMAP Software
- Vision System Software
- Objectieven en kalibratiekaarten
- Optisch
- Vorm
-
Hardheid
- Terug Hardheid Alle Hardheid
- Portable Hardness Testers
- Combination Testers
-
Vickers Testers
- Terug Vickers Testers Vickers Testers
- Vickers Hardness Testing Machine HV-110/120
- Automatic Vickers Testers
-
Micro-Vickers Testers
- Terug Micro-Vickers Testers Micro-Vickers Testers
- Micro-Vickers Hardness Testing Machines HM-210/220
-
Hardness Testing Software
- Terug Hardness Testing Software Hardness Testing Software
- AVPAK
-
Reference materials and indenters
- Terug Reference materials and indenters Reference materials and indenters
- Hardness reference materials
- Hardness indenters and replacement balls
-
Sensoren
- Terug Sensoren Alle Sensoren
-
Meettasters
- Terug Meettasters Meettasters
- ABSOLUTE Digimatic Linear Gauge LGS Series
- Air Drive Unit
- ABSOLUTE Digimatic Linear Gauge LGD Series
- Standard Linear Gauge LGF Series
- Linear Gauge LG100 Series
- Linear Gauge LG200 Series
- Slim Head Linear Gauge LGK Series
- Slim Head Linear Gauge LGB Series
- Large Measuring Range Linear Gauge LG
- Laser Hologauge
-
Lage meetkracht meetinstrument
- Terug Lage meetkracht meetinstrument Lage meetkracht meetinstrument
- LITEMATIC VL-50 Gemotoriseerde lage meetkracht, zeer hoog nauwkeurig meetinstrument
- Tellers en uitleeseenheden
- Laser Scan Micrometers
-
Surface Measure
- Terug Surface Measure Surface Measure
- Surface Measure 1008S
- Accessories
- Sensor Management Software
-
Digital Scales
- Terug Digital Scales Alle Digital Scales
- DRO Linear Scales en Tellers
-
NC Linear Scales
- Terug NC Linear Scales NC Linear Scales
- NC Linear Scales ST36
- NC Linear Scales ST46-EZA
- NC Linear Scales ABS ST700
- NC Linear Scales ABS ST1300
- NC Linear Scales AT211
- NC Linear Scales ABS AT1100
- NC Linear Scales ABS AT1300
- NC Linear Scales AT402E
- NC Linear Scales AT203
- NC Linear Scales AT402E with cable A/B
- NC Linear Scales AT402E with cable C
-
Opbouwlinialen
- Terug Opbouwlinialen Opbouwlinialen
- Horizontal ABSOLUTE Scale Coolant Proof IP66
- Horizontal ABSOLUTE Scale Standard
- Horizontal ABSOLUTE Scale Measurement Direction Switching
- Horizontal ABSOLUTE Scale Diameter Function
- Vertical ABSOLUTE Scale Standard
- Vertical ABSOLUTE Scale Measurement Direction Switching
- Vertical ABSOLUTE Scale Diameter Function
-
Data Management
- Terug Data Management Alle Data Management
-
Data Management Software
- Terug Data Management Software Data Management Software
- MeasurLink 10
- USB-ITPAK
-
Mini Processors
- Terug Mini Processors Mini Processors
- Digimatic Mini Processor DP-1VA LOGGER
- Signaal kabels
- Draadloze communicatie
- Interfaces
-
Timerbox, Digimatic Switch Box, Tolerance Box
- Terug Timerbox, Digimatic Switch Box, Tolerance Box Timerbox, Digimatic Switch Box, Tolerance Box
- Digimatic Timerbox
- Digimatic Data Logger
- Digimatic Switch Box
- Digimatic Tolerance Box
-
Software
- Terug Software Alle Software
-
CMM Software
- Terug CMM Software CMM Software
- MiCAT Planner
- MCOSMOS
- MAFIS-Express
- MSURF
- Vision System Software
-
FMI Software
- Terug FMI Software FMI Software
- Formtracepak
- Roundpak
- Software voor hardheidstester
- Sensor Management Software
-
Kwaliteits Management Software
- Terug Kwaliteits Management Software Kwaliteits Management Software
- Measurlink 10
- USB-ITPAK
- Industrieën
- Service
- Smart Factory
-
Educatie
- Terug Educatie
- Educatie
- Education Pack
- E-Learning
- Online Material
- Over ons
-
Nieuws
- Terug Nieuws
- Nieuws
- Onze promoties
-
Evenementen
- Terug Evenementen
- Evenementen
-
Alle nieuwsberichten
- Terug Alle nieuwsberichten
- Alle nieuwsberichten
- MITUTOYO VERSTERKT MET R&D DE EIGEN MARKTGEDREVEN AANPAK
- Downloads
Mitutoyo Corporation
The clear and uncompromising goal to provide the best quality product and value available anywhere has driven Mitutoyo, from humble beginnings in 1934, to become the premier supplier of metrology equipment in the world.
Including development, production, and sales the company operates in more than 100 countries. In Japan alone, Mitutoyo operates two development sites,10 production facilities, two metrology institutes, five calibration laboratories, seven service centers, and seven M³ Solution Centers in addition to the Kawasaki headquarters and sales offices.
Internationally, the Mitutoyo Group has a major presence in almost 40 countries, maintaining more than 80 branch offices and national distributor networks, 65 M³ Solution Centers, 17 production sites, six research and development laboratories, 12 metrological institutes, and 20 calibration laboratories. Additionally, there are Mitutoyo representatives in approximately 60 other countries.
This extensive worldwide infrastructure means that our customers enjoy the assurance of local support and worldwide technical advice and logistical backup to keep their vital measuring equipment in effective and profitable operation with the minimum of downtime, wherever they are. This is especially important for our multinational customers who need the same level of support for their partners and suppliers in foreign countries as they receive from Mitutoyo themselves.
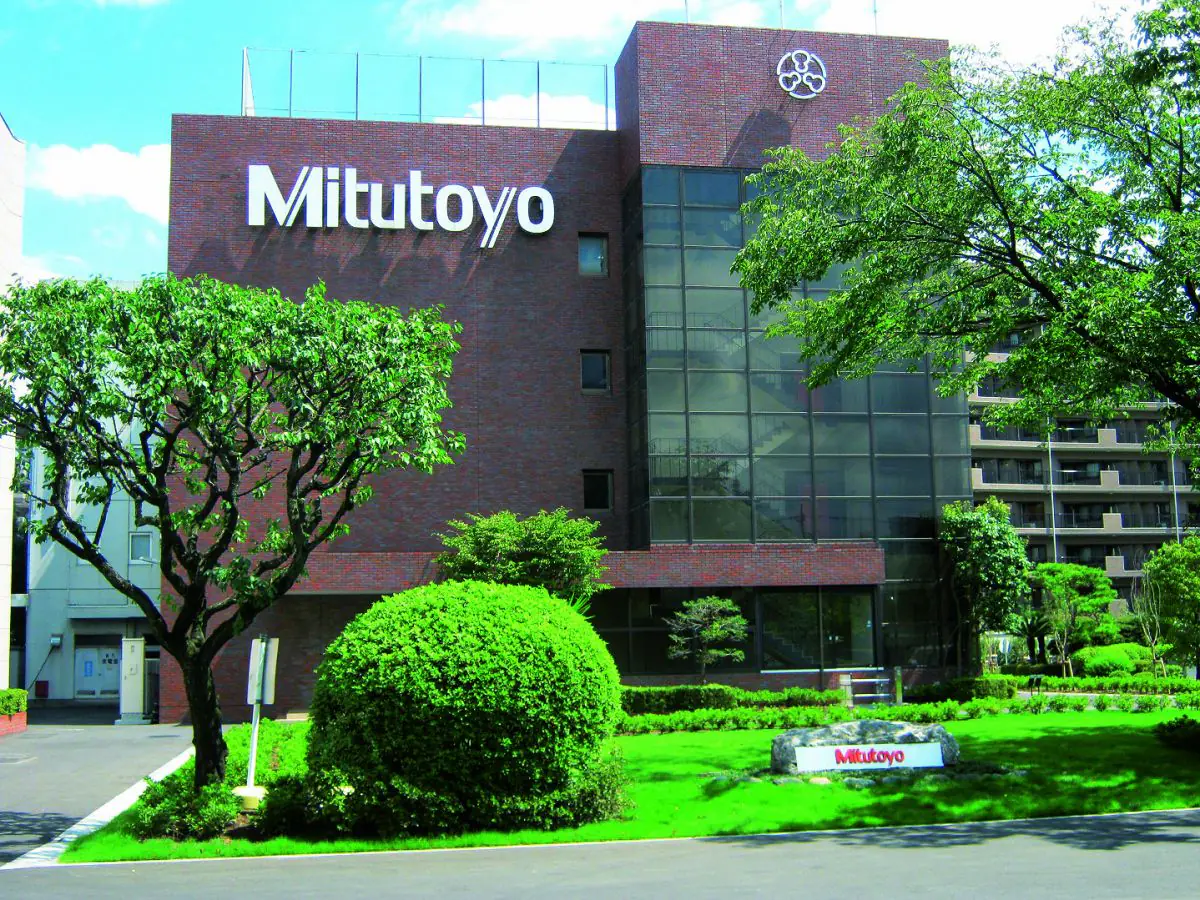
THE PAST
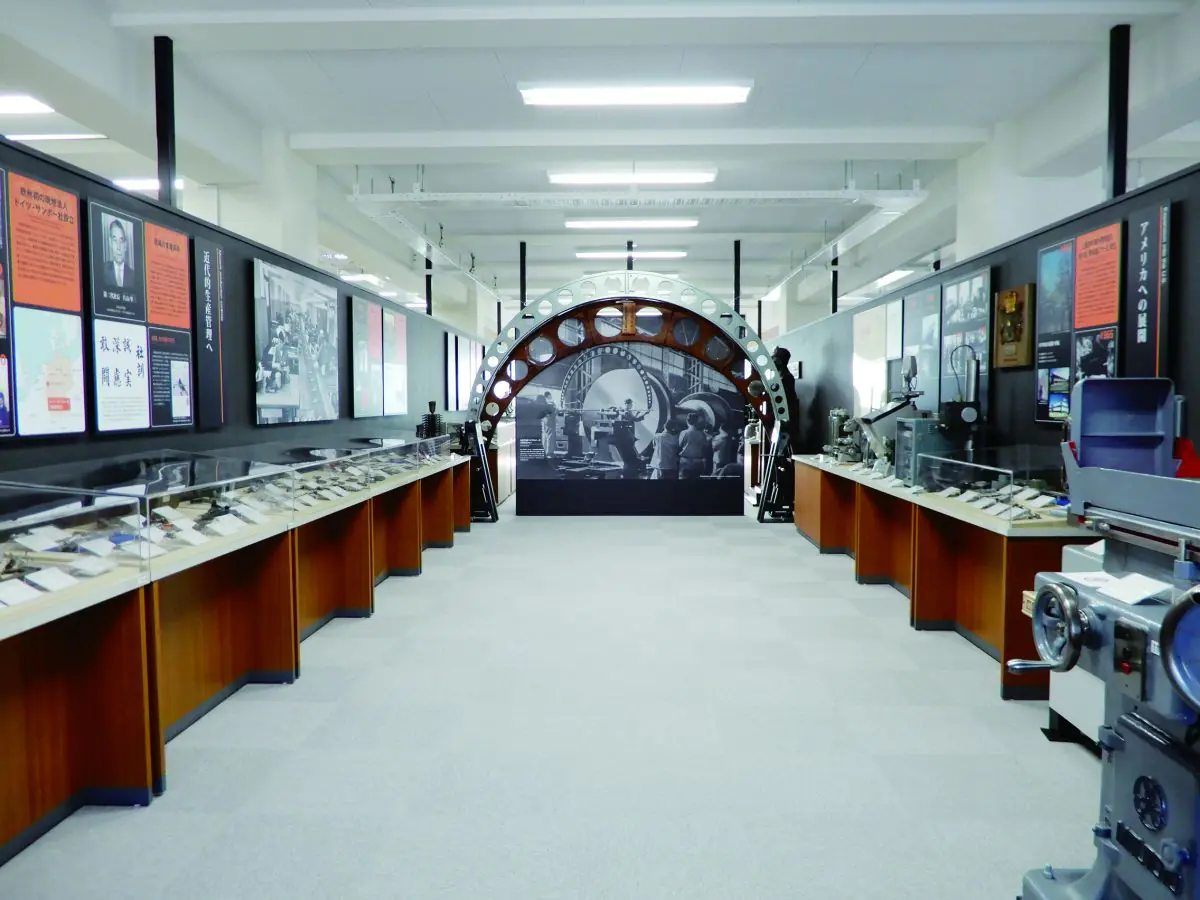
Mitutoyo's history began with the establishment of a research center with the aim of producing Japan's first micrometers in Tokyo's Kamata district by Yehan Numata in 1934.
The founder of Mitutoyo Corporation was born on April 12, 1896, in Hiroshima prefecture in Japan. He was born into a Buddhist priest's family as the sixth of eight children. His family lineage had been Buddhist priests since the 16th century.
Numata left Japan for Los Angeles/USA and learned English. He was accepted into the University of California, Berkley, where he majored in statistics and received a degree in economics.
In 1934, he returned to Japan, with the purpose of renting a little office near Tokyo to produce his micrometer prototype.
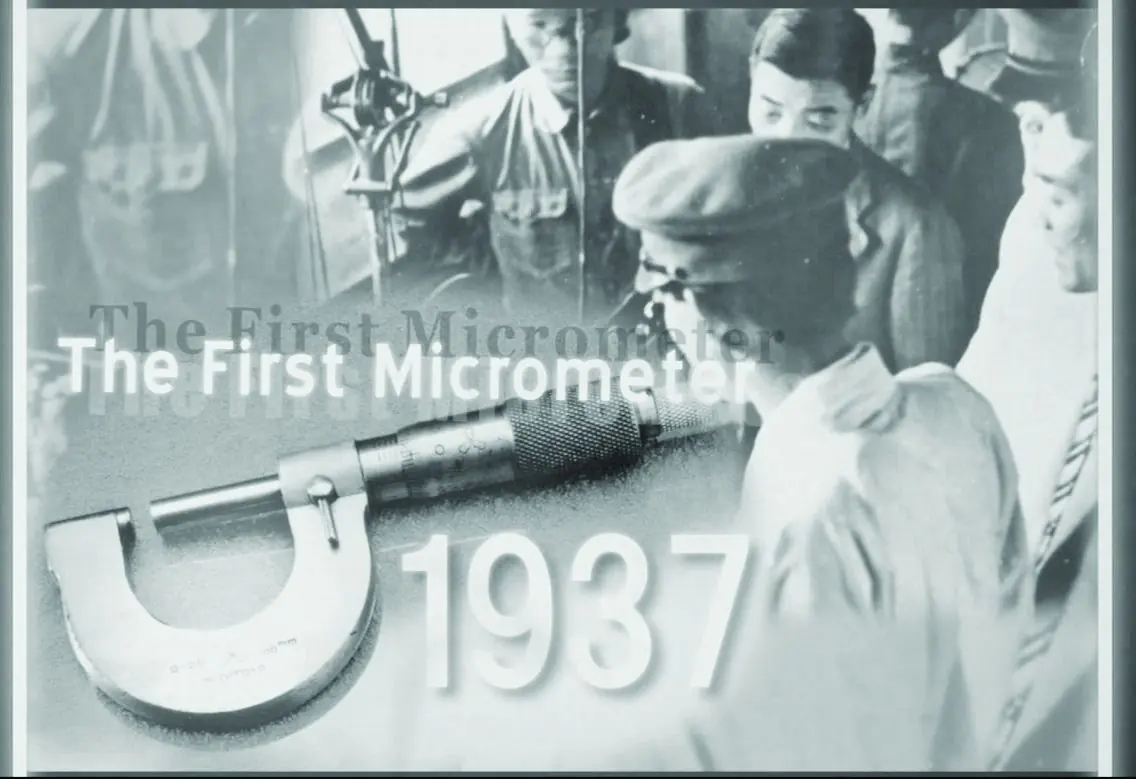
The first production run was 100, but only 17 were released
It was James Watt (1736-1819) of Scotland who first employed the principles of screw threads to measure the plate thickness of his steam engines, but the modern micrometer was invented by the French engineer Pièrre Palmer in 1846. His screw threads featured a 1 mm pitch and the smallest reading was 0.05 mm, but it contained every element to be a modern micrometer.
The sole objective of Mitutoyo Corporation when founded in 1934 was to produce micrometers.
It was, however, extremely difficult to cut 0.5 mm fine threads, and with the exceptional quality requirements of Yehan Numata, it took several years to create the first batch. Yet only 17 passed the test, and 83 were rejected. A bittersweet moment for them, with those rejected micrometers buried under the shop floor.
This is where the concept of "precision is our profession" all started.
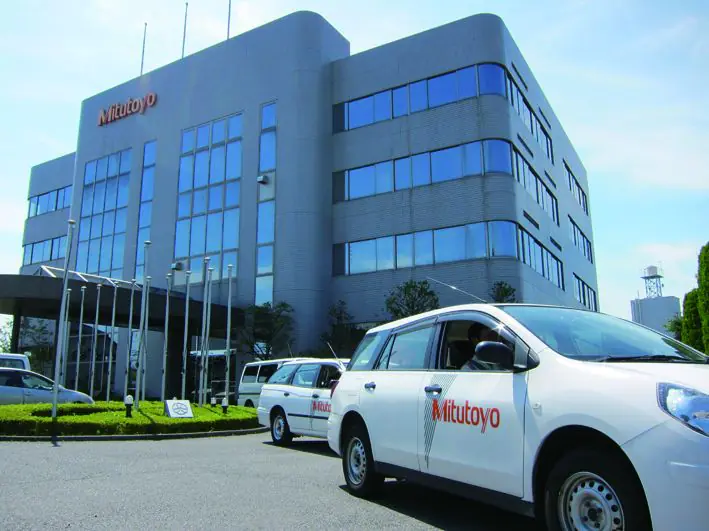
Mitutoyo Worldwide
In the years and decades to follow the micrometers vastly gained quality and accuracy. Plus, more handled measuring instruments were added to the portfolio: Vernier and Dial Calipers, depth and inside micrometers, height gauges, and many more. Mitutoyo's instruments soon managed the great "jump" over the Pacific to North America, where the first overseas department was founded in the year 1963.
At the time, Yehan's son, Yoshiteru, visited the two European dealers in Great Britain (Draper) and the Netherlands (Hoekstra) and already had plans to establish a European headquarters in Germany. On a second visit, he met Bern Schrader, the owner of Sartorius Nachf, who later became an exclusive agent in Germany, an equal partner (Sartorius Mitutoyo), and one of the most important distributors.
In 1965 a Mr. Nakajima showed up in Schrader's office from at the time an obscure company with a tongue-twisting name, he brought along a sliding caliper, micrometer, indicator, and a height gauge made by Mitutoyo. Schrader and his team were impressed with the quality of the instruments and immediately saw the chance to introduce the instruments to the extremely conservative German market.
In those days, Japanese products were somewhat exotic and the significantly different way in which they were presented at trade fairs called the domestic competitors into action. Some of them threatened the organizers of trade fairs with boycotts if Mitutoyo was further allowed to present their products. With the converse effect: This made potential customers all the more interested in the new contender, and they would soon find out about the extraordinary product quality at fair prices.
The Future
Mitutoyo has always been at the fore when it comes to developing sophisticated, highly innovative measuring equipment, bespoke solutions, in-line and multi-sensor measuring, and trendsetting innovations.
The future of precision measurements, as defined by Mitutoyo, lies in innovative software solutions that bring out the full potential of hardware for making measurements.
The Internet of Things (IoT) connects a variety of machines to the network, enabling production processes to be continuously monitored in real-time. On-site digitization, automation, and virtualization boost work efficiency. It's the start of Industry 4.0, an industrial revolution making full use of IT. At smart factories, real-time data acquired through internetworking is used to maintain optimal operations of both, machines and personnel, at all times. Initiatives are underway to make optimal operations of both, machines and personnel, at all times.
Initiatives are underway to make efficient use of industrial equipment by cutting costs and streamlining and optimizing work. In terms of measurements, it has become necessary to manage a variety of data due to the growing importance of quality control, the diversification of targeted products, and the speeding up of product life cycles. However, the accumulation and sharing of knowledge have become a problem due to the lack of on-site personnel available to take measurements. Conventional production processes often involved optimization of design and quality control on an individual factory basis.
Production processes that Mitutoyo envisions for the future will not involve partial optimization on an individual factory basis but will aim to boost production efficiency through integrated management and overall optimization based on mutual exchanges of data between those in charge of design, quality control, and the factories. Innovative solutions like the Mitutoyo MeasureLink software create a database by connecting all measured data in the factory via the network. The administrator carries out centralized monitoring of information from all network data collection terminals.
It provides a powerful backup system in examining problems, by confirming and carrying out various statistical analyses on the results of measurements. It realized integrated management allowing administrators, on-site people involved in manufacturing, and the inspection room to check any information any time they want.
Message From the President
I would like to start by thanking you wholeheartedly for using Mitutoyo products. Since its establishment in 1934, Mitutoyo has been offering measuring tools such as micrometers and calipers, and system instrument products such as coordinate measuring instruments, form measurement instruments, and optical measuring instruments, to markets around the world under the motto of “Quality First”, and the company’s products have since then been in demand and used by customers everywhere.
In recent years, we have not only pursued the development of nanotechnology but also responded to the diversifying needs of industry and cooperated in the promotion of IoT and automated technologies. With the measurement technologies we have built up over many years, we actively provide solutions to improve our customers’ productivity.
Mitutoyo will continue in its role as a world-leading company devoted to the untiring pursuit of leading technologies, providing not just measuring tools but also measurement-related technologies.
We look forward to your guidance and support as we work.
President Yoshiaki Numata


